Introduction
📌 The information presented here is MANDATORY TO APPLY!
Why is Tool Processing So Important?
It’s about health — yours, your clients’, and your family’s.
🔴 HIV transmission in manicure salons is rare, but hepatitis is easy to contract.
⚠ You or your clients may be unaware of infections that can be transmitted.
📌 Fact: Hepatitis C is detected only by medical testing.
📌 You cannot require clients to provide health certificates.
💡 You bear personal responsibility for:
✅ Your own health
✅ Your clients’ health
✅ The health of your loved ones
📌 Conclusion: Each stage of nail tool sterilization and manicure tool disinfection must be strictly and without exception performed!
📜 Regulatory Documents and Salon Hygiene Standards for Tool Processing
Tool processing complies with current sanitary rules and salon hygiene standards, regulating infection prevention in beauty salons:
-
Sanitary rules covering infection control and tool processing, including disinfection and pre-sterilization cleaning.
-
Methodical instructions detailing disinfection, cleaning, and sterilization procedures.
-
Sanitary requirements for beauty salon premises and operations.
⚠ Always consider your local health authorities’ (e.g., Rospotrebnadzor) up-to-date regulations.
🧼 Manicure Tool Disinfection and Nail Tool Sterilization Process
Proper Sequence to Maintain Salon Hygiene Standards
What is Disinfection?
Initial processing immediately after use to destroy:
✅ Viruses (hepatitis, HIV)
✅ Bacteria (including tuberculosis agents)
✅ Fungi (dermatophytes)
Tools are then either reused or processed further by pre-sterilization cleaning and sterilization.
Which Tools Must Be Sterilized?
-
Tools contacting blood or that can injure skin (metal cutters, scissors, pushers, diamond and carbide drill bits).
-
Tools contacting mucous membranes or wounds.
Sterilization destroys all microbes including spores.
What Can Be Only Disinfected?
-
Brushes without blood contact (otherwise dispose).
Tool Processing Sequence After Client
-
Workplace Processing
-
Wipe table with antifungal disinfectant.
-
Dispose of disposables.
-
Wash hands and put on gloves.
-
Disinfection of Tools
-
Fully immerse tools in viral disinfectant (follow instructions).
-
Dispose used files, buffers, wipes as hazardous waste at day’s end.
-
Pre-Sterilization Cleaning
-
Scrub mechanically with brush.
-
Use ultrasonic cleaner if available.
-
Dry naturally on clean towels (metal tools 4-5 hrs, drill bits ≥8 hrs).
After drying, begin sterilization. 🚀
🧪 Choosing Disinfectants for Nail Tool Sterilization and Manicure Tool Disinfection
-
Mandatory after every client.
-
Use products effective against viral hepatitis at proper concentration and exposure time.
Disinfection Types
-
Physical (rare): boiling, steam, dry heat sterilization.
-
Chemical (main for manicure tools): immersion in disinfectant, use undamaged containers.
Allowed Disinfectants
-
Cationic surfactants
-
Oxidizers
-
Chlorine-based agents
-
Hydrogen peroxide agents
-
Alcohols
-
Aldehydes
⚠ Aldehydes require pre-wash; alcohols not for all materials; chlorine/peroxide can corrode without inhibitors.
Tips
-
Some disinfectants combine disinfection and pre-sterilization cleaning.
-
Use certified products, follow instructions strictly.
-
To protect metal tools, avoid chlorine and aldehydes without corrosion inhibitors.
🧴 Storage and Quality Control of Disinfectants
-
Containers tightly closed, labeled (product, concentration, purpose, prep date).
-
Check concentration with test strips.
-
Maintain ≥3-day stock.
-
Essentials: hand antiseptics, surface and tool disinfectants, kraft sterilization bags, sterilization indicators.
-
Regularly check expiry and replace.
🧽 Pre-Sterilization Cleaning Best Practices
-
Clean reusable tools from protein, fat, debris, disinfectant residues.
-
After disinfection, scrub in solution, rinse under running water, scrub again.
-
Ultrasonic cleaning combines disinfection and cleaning if proper products used.
-
Dry naturally overnight or hot dry ~1 hr at 85°C.
🔥 Sterilization Methods for Nail Tool Sterilization
-
Kills all microorganisms including spores.
-
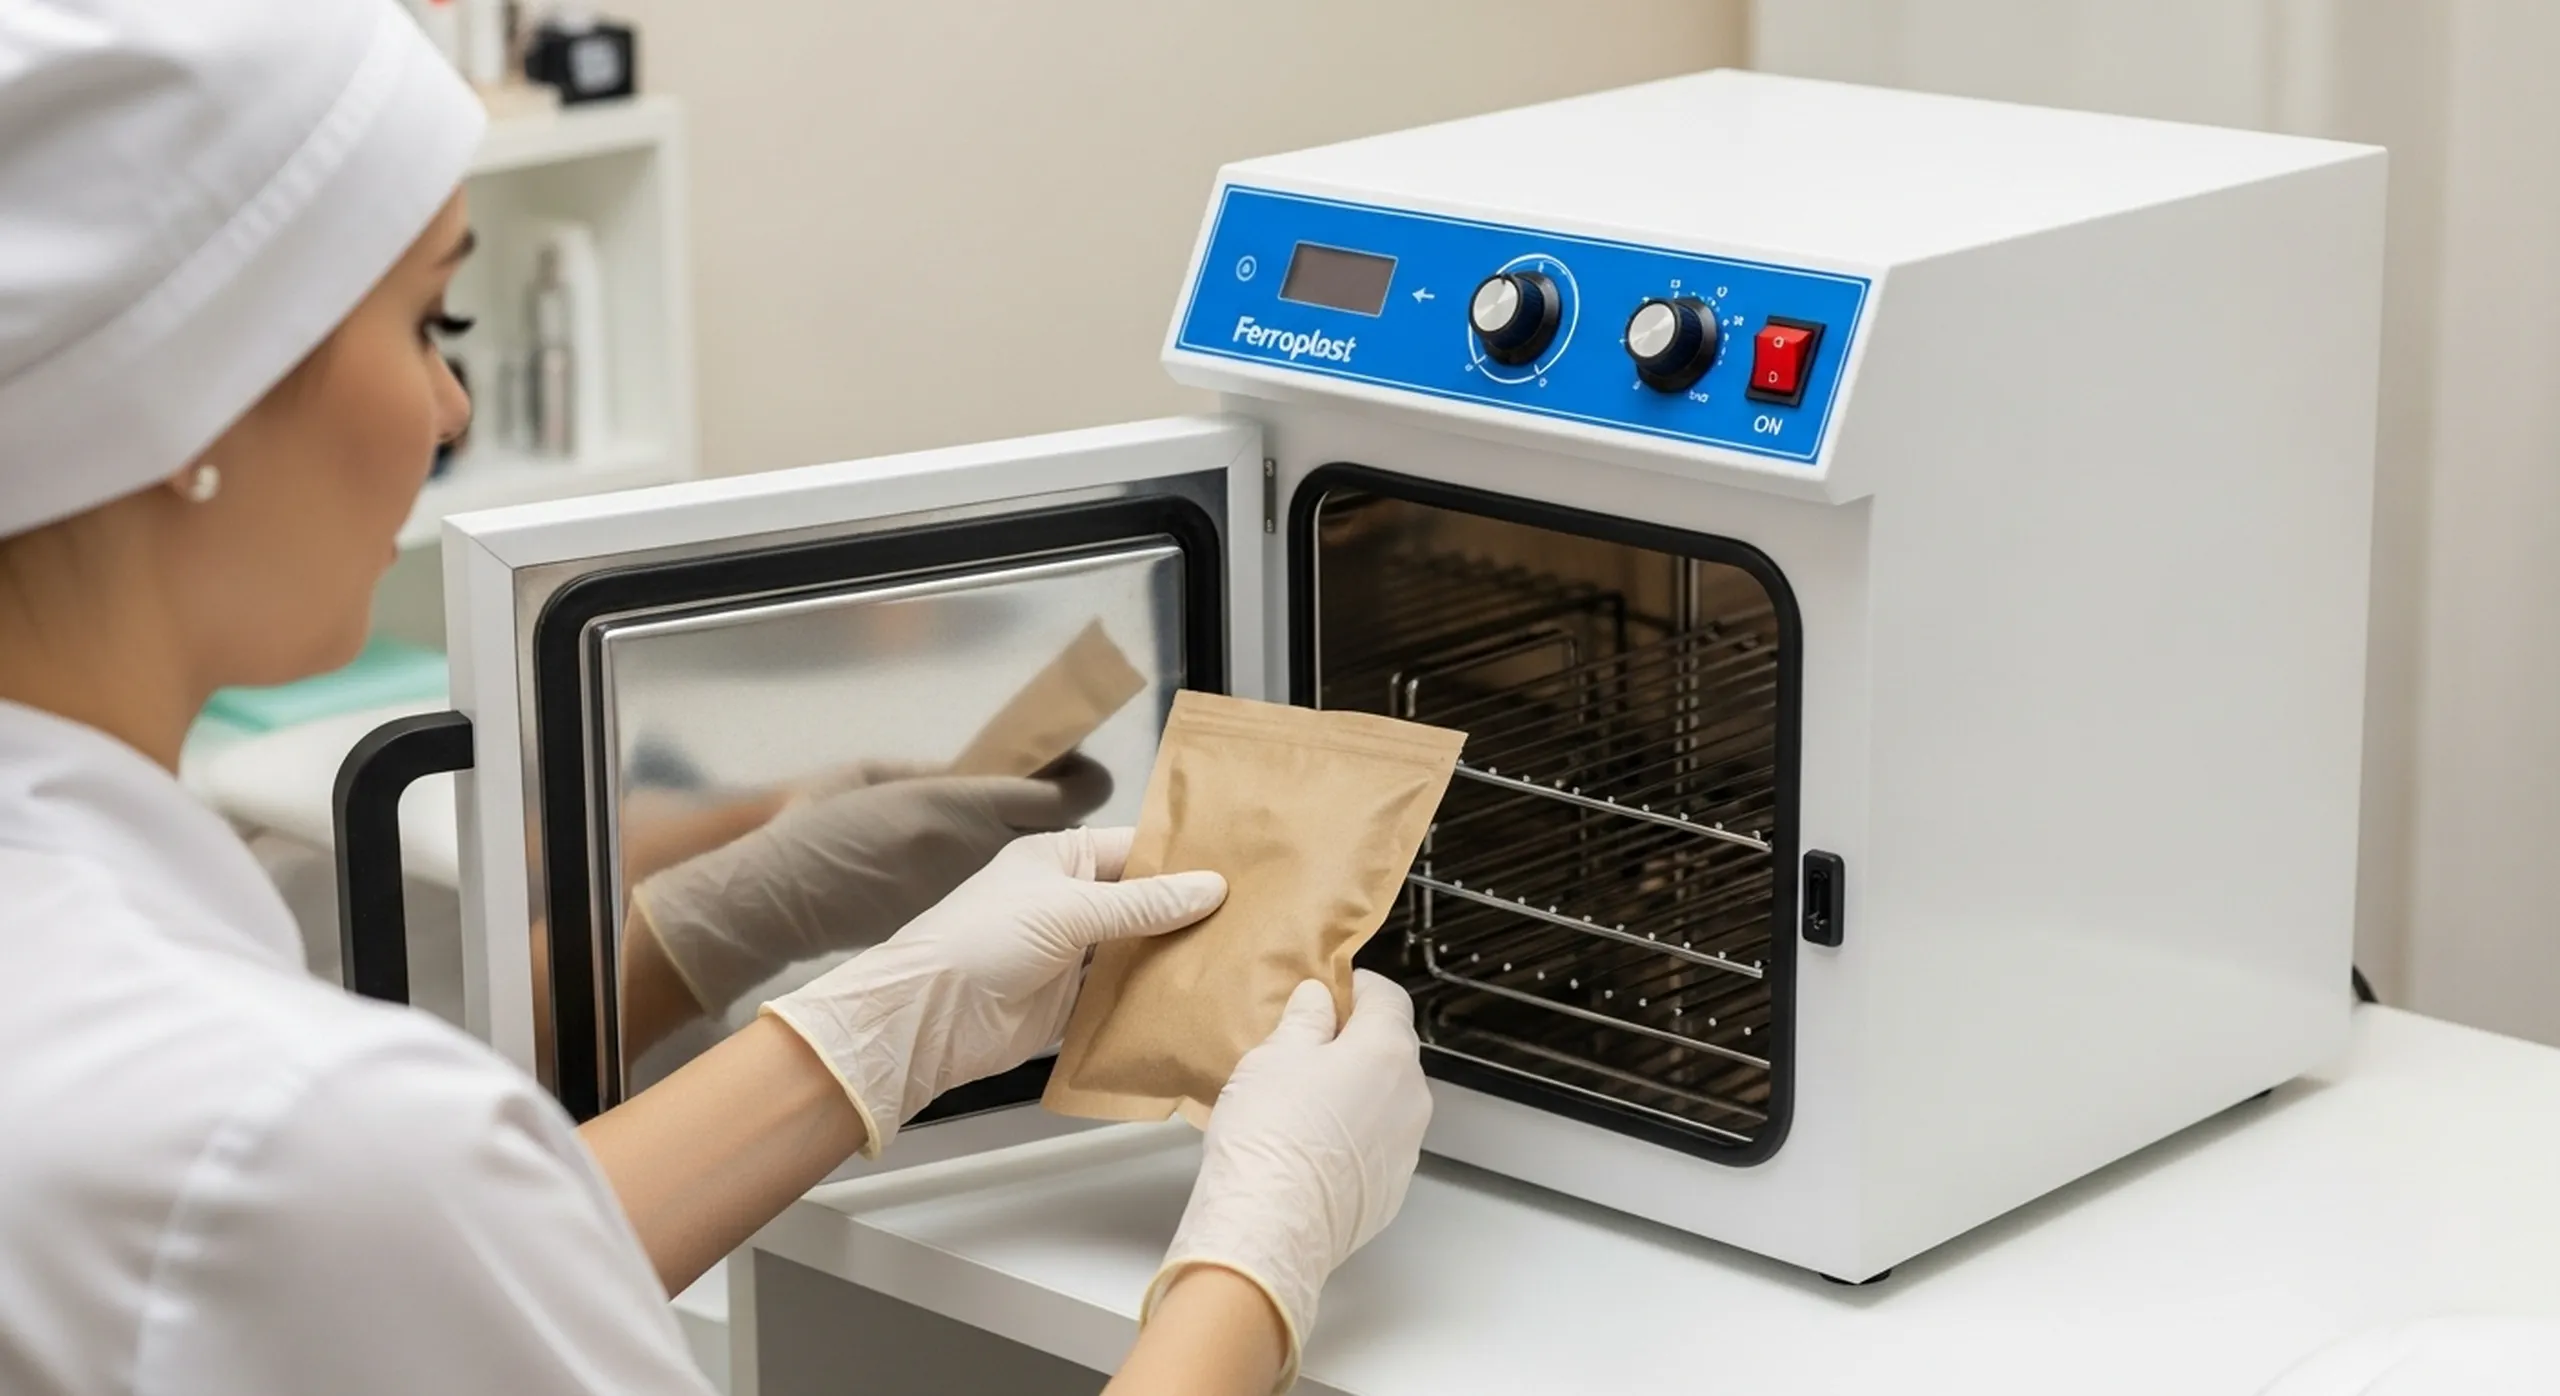
Recommended: dry heat sterilization (dry heat oven), less common: steam autoclave.
-
Dry heat sterilizer: 180°C, ventilation, timer.
-
Bacteriological and chemical cycle control mandatory.
Packaging
-
Pack in kraft bags, store up to 20 days.
-
Without packaging use within 1 shift.
-
Sterilization without packaging allowed if tools used within 1 hour or stored in sterilizers.
-
Don’t stack bags; tools without packaging must not touch.
-
Sterilize 180°C for 60 mins; don’t open immediately.
Indicators
-
Chemical indicators inside sterilizer and each kraft bag; log results.
🏠 Sterilization Area Setup
-
Dedicated zone for disinfection, pre-sterilization cleaning, sterilization.
-
Equipment: sink with hot/cold water, clean storage for tools.
-
Separate room not required.
⚗️ Chemical Sterilization & Devices Not True Sterilizers
-
Chemical sterilization for heat-sensitive tools only.
-
UV sterilizers maintain sterility but don’t sterilize.
-
Glass bead sterilizers only for rotary tools.
-
Chinese dry heat sterilizers (“little coffins”) disputed, likely fail quality control.
✅ Use certified equipment approved by health authorities for professional work.
📚 Mandatory Logs in Manicure Salon
-
Workplace Instruction Log
-
General Cleaning Log
-
UV Lamp Usage Log
-
Pre-Sterilization Cleaning Quality Log
-
Sterilizer Operation Log
👚 Clothing and Premises Processing
-
Clothing washed separately with disinfectants as needed.
-
Premises cleaned twice daily (bacterial) and weekly (antifungal).
-
Use combined detergents and disinfectants.
-
Clean equipment clearly marked and separated to avoid cross-contamination.
⚠ Even working at home, follow strict salon hygiene standards! Every client can unknowingly carry infections.


